
 Image 1 of 6
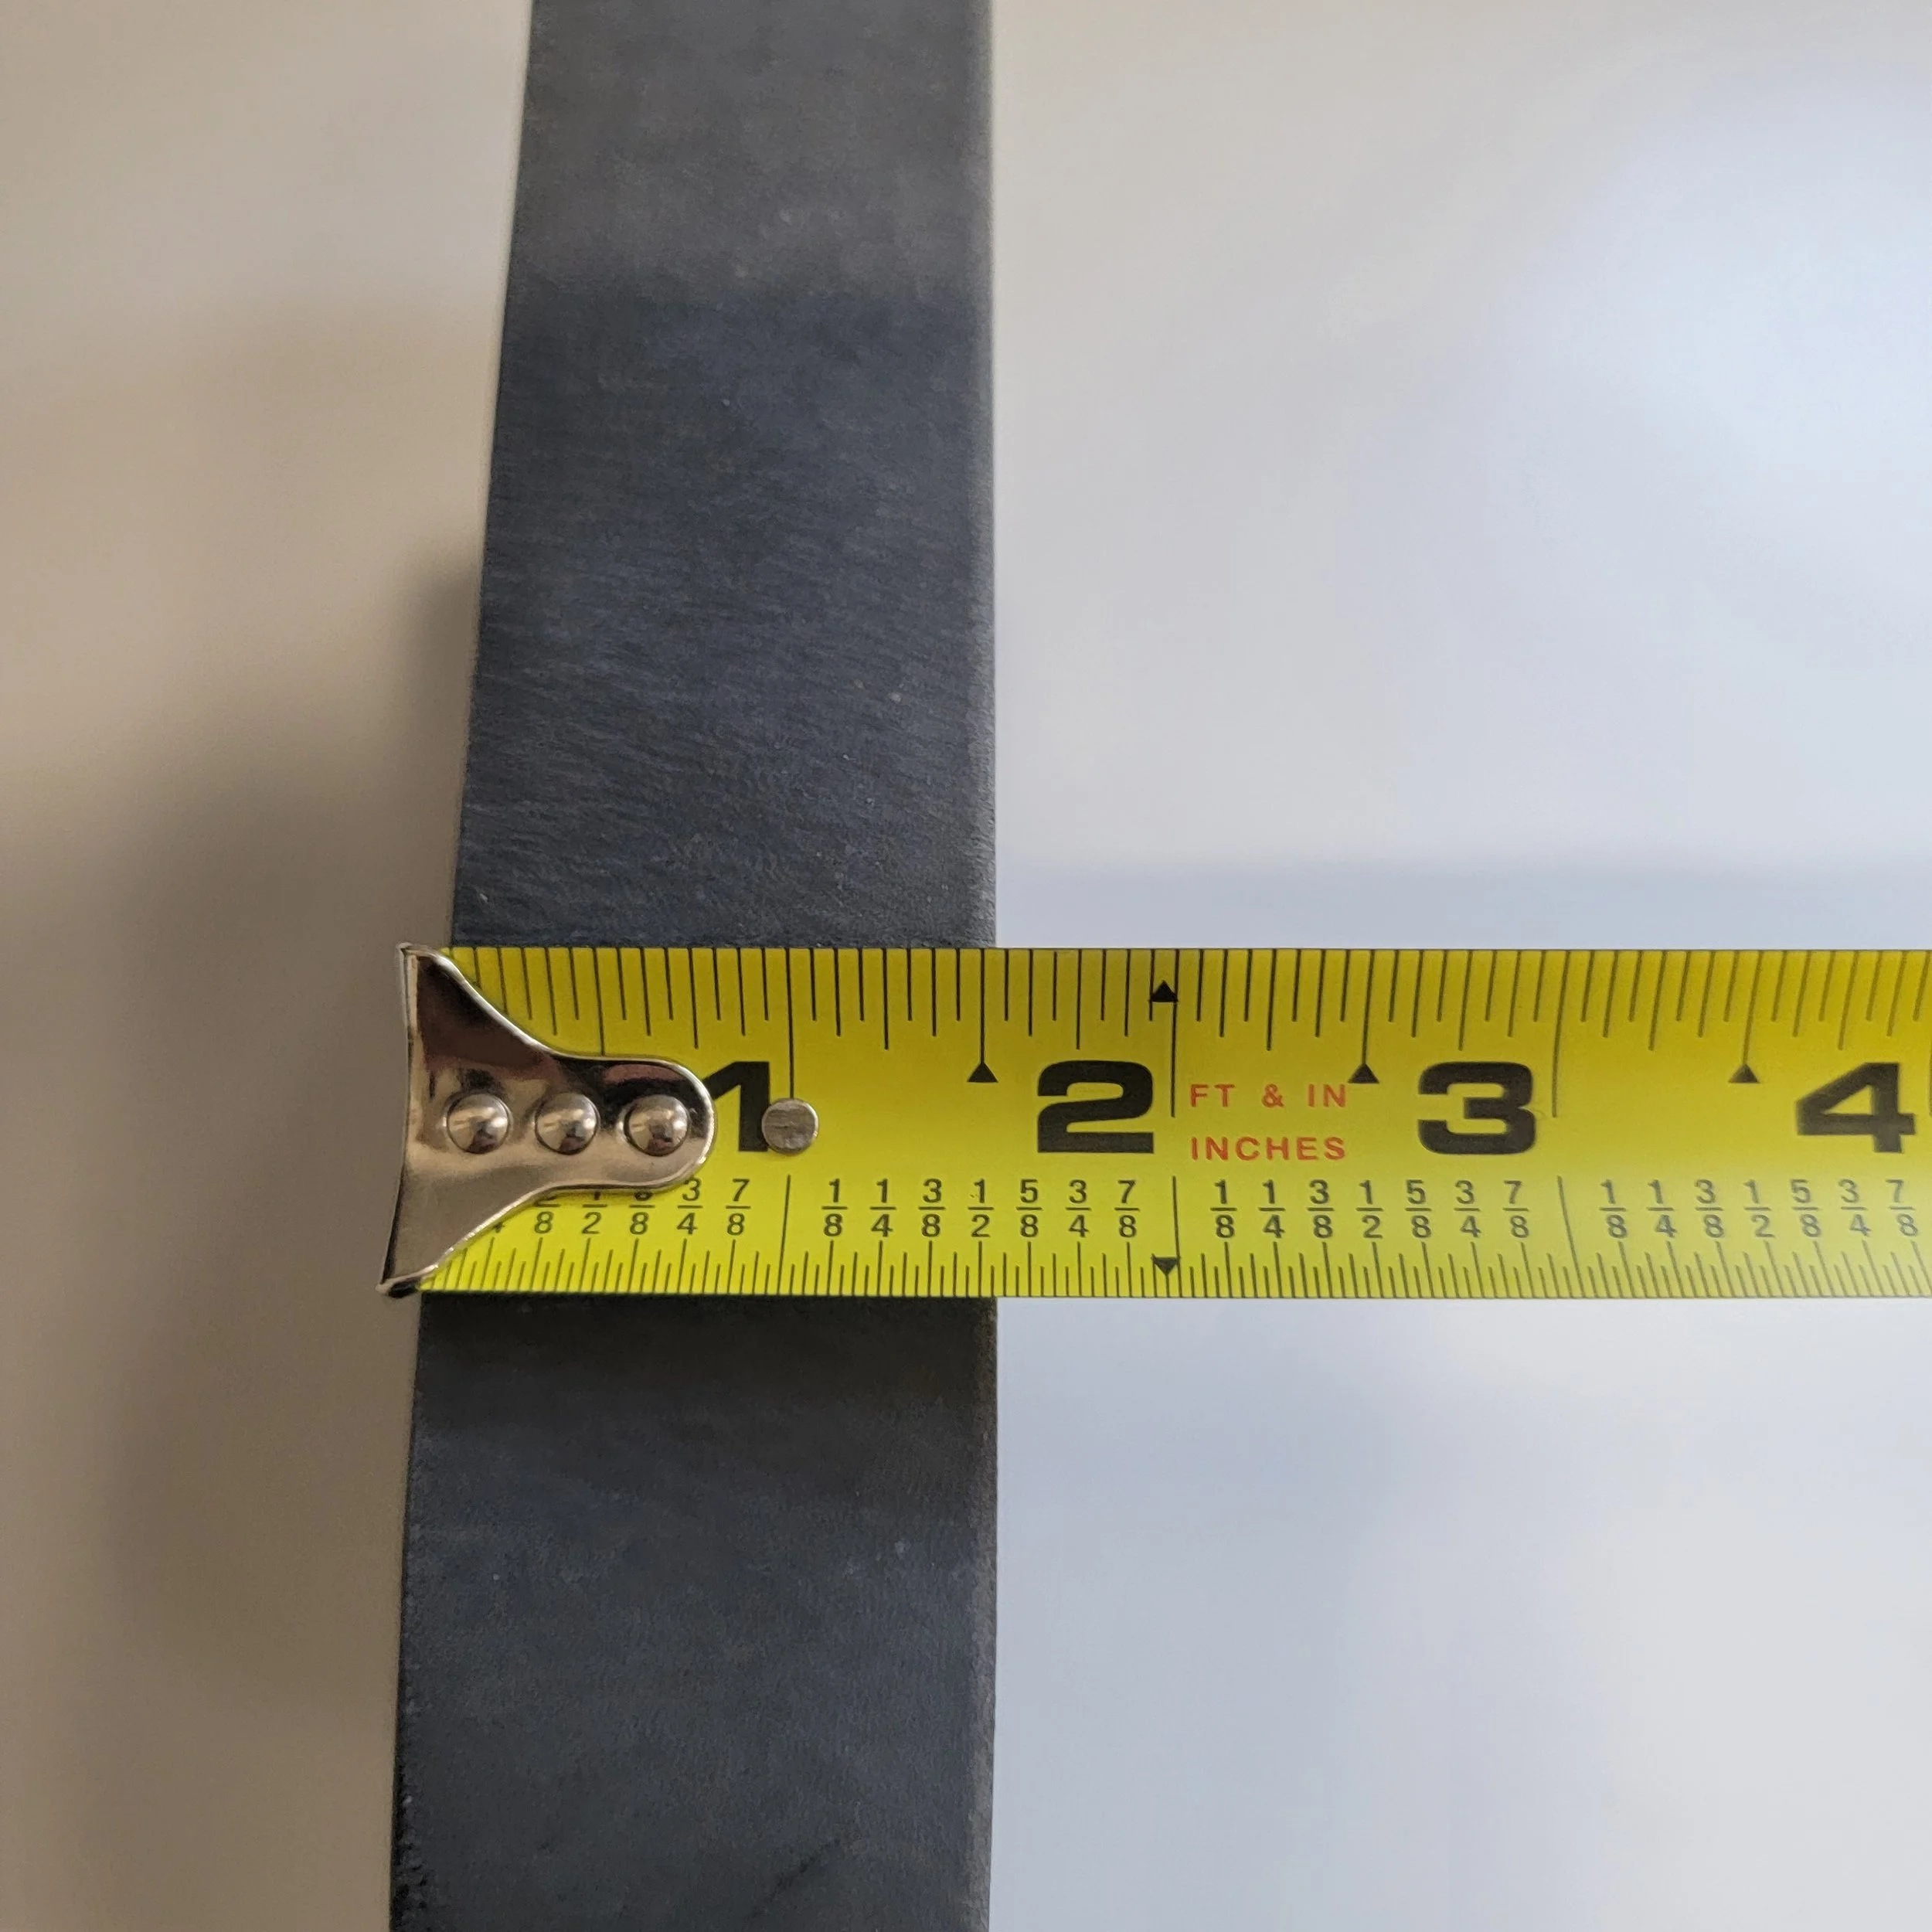 Image 2 of 6
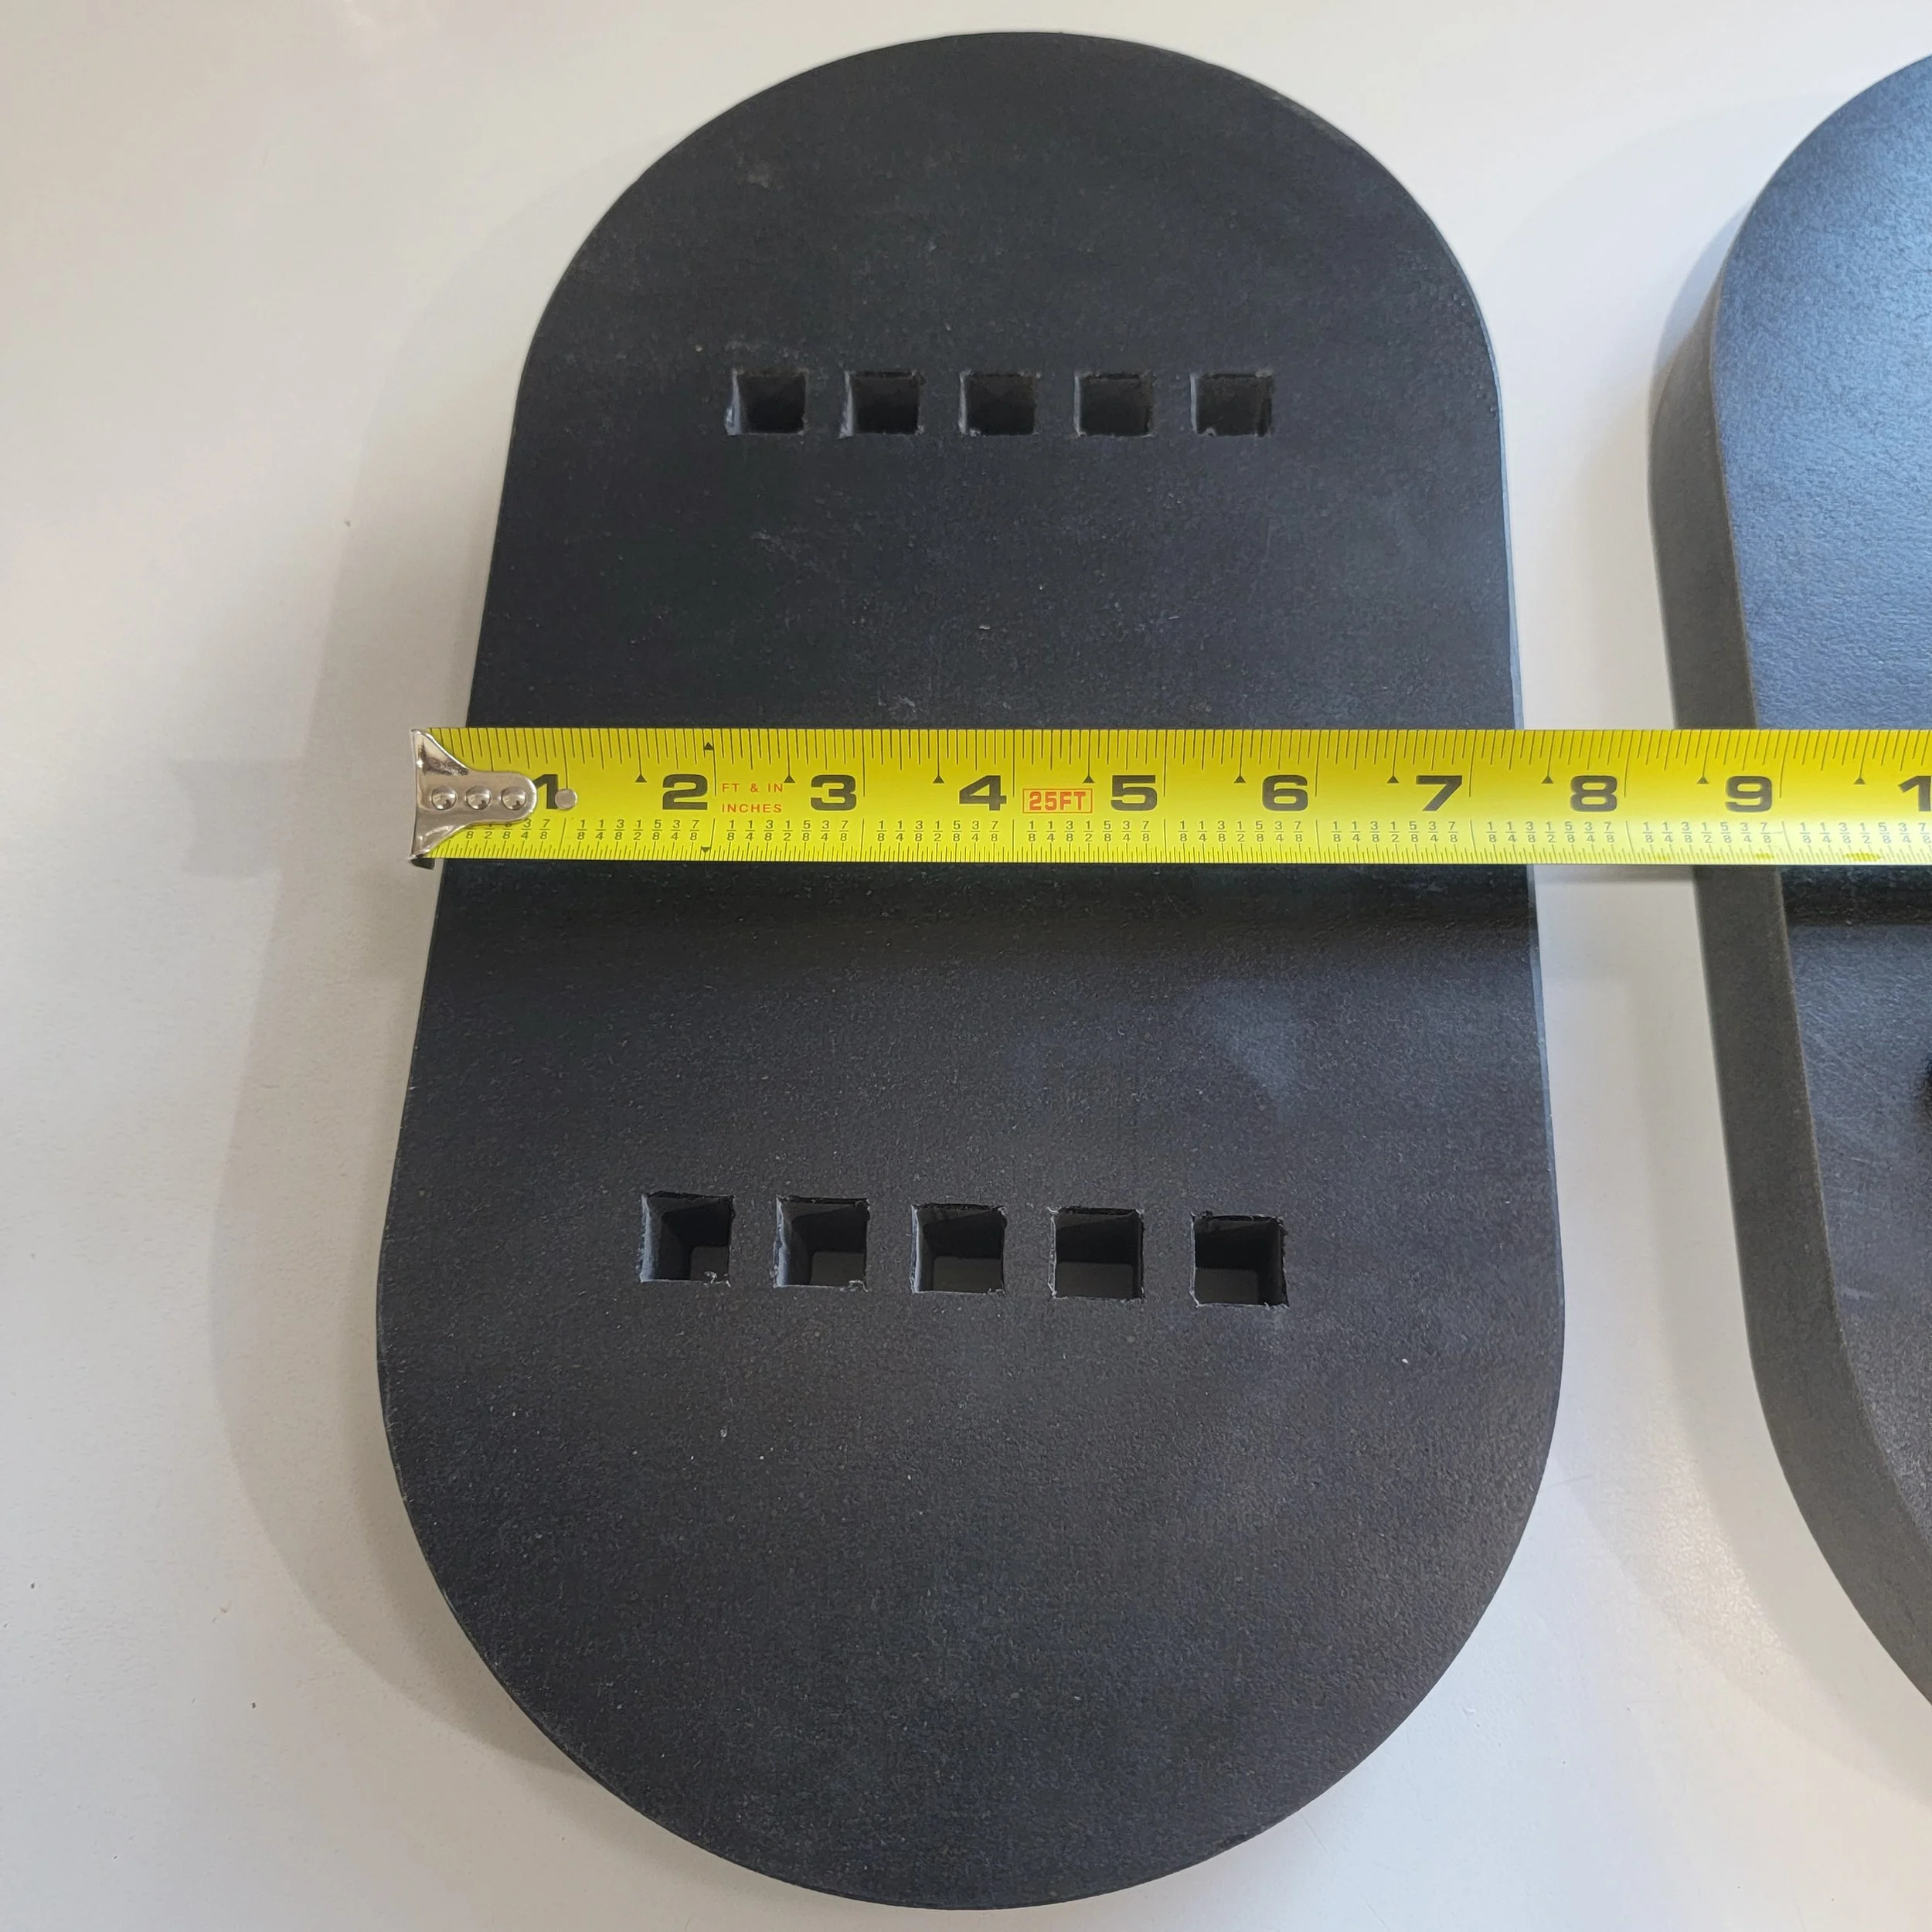 Image 3 of 6
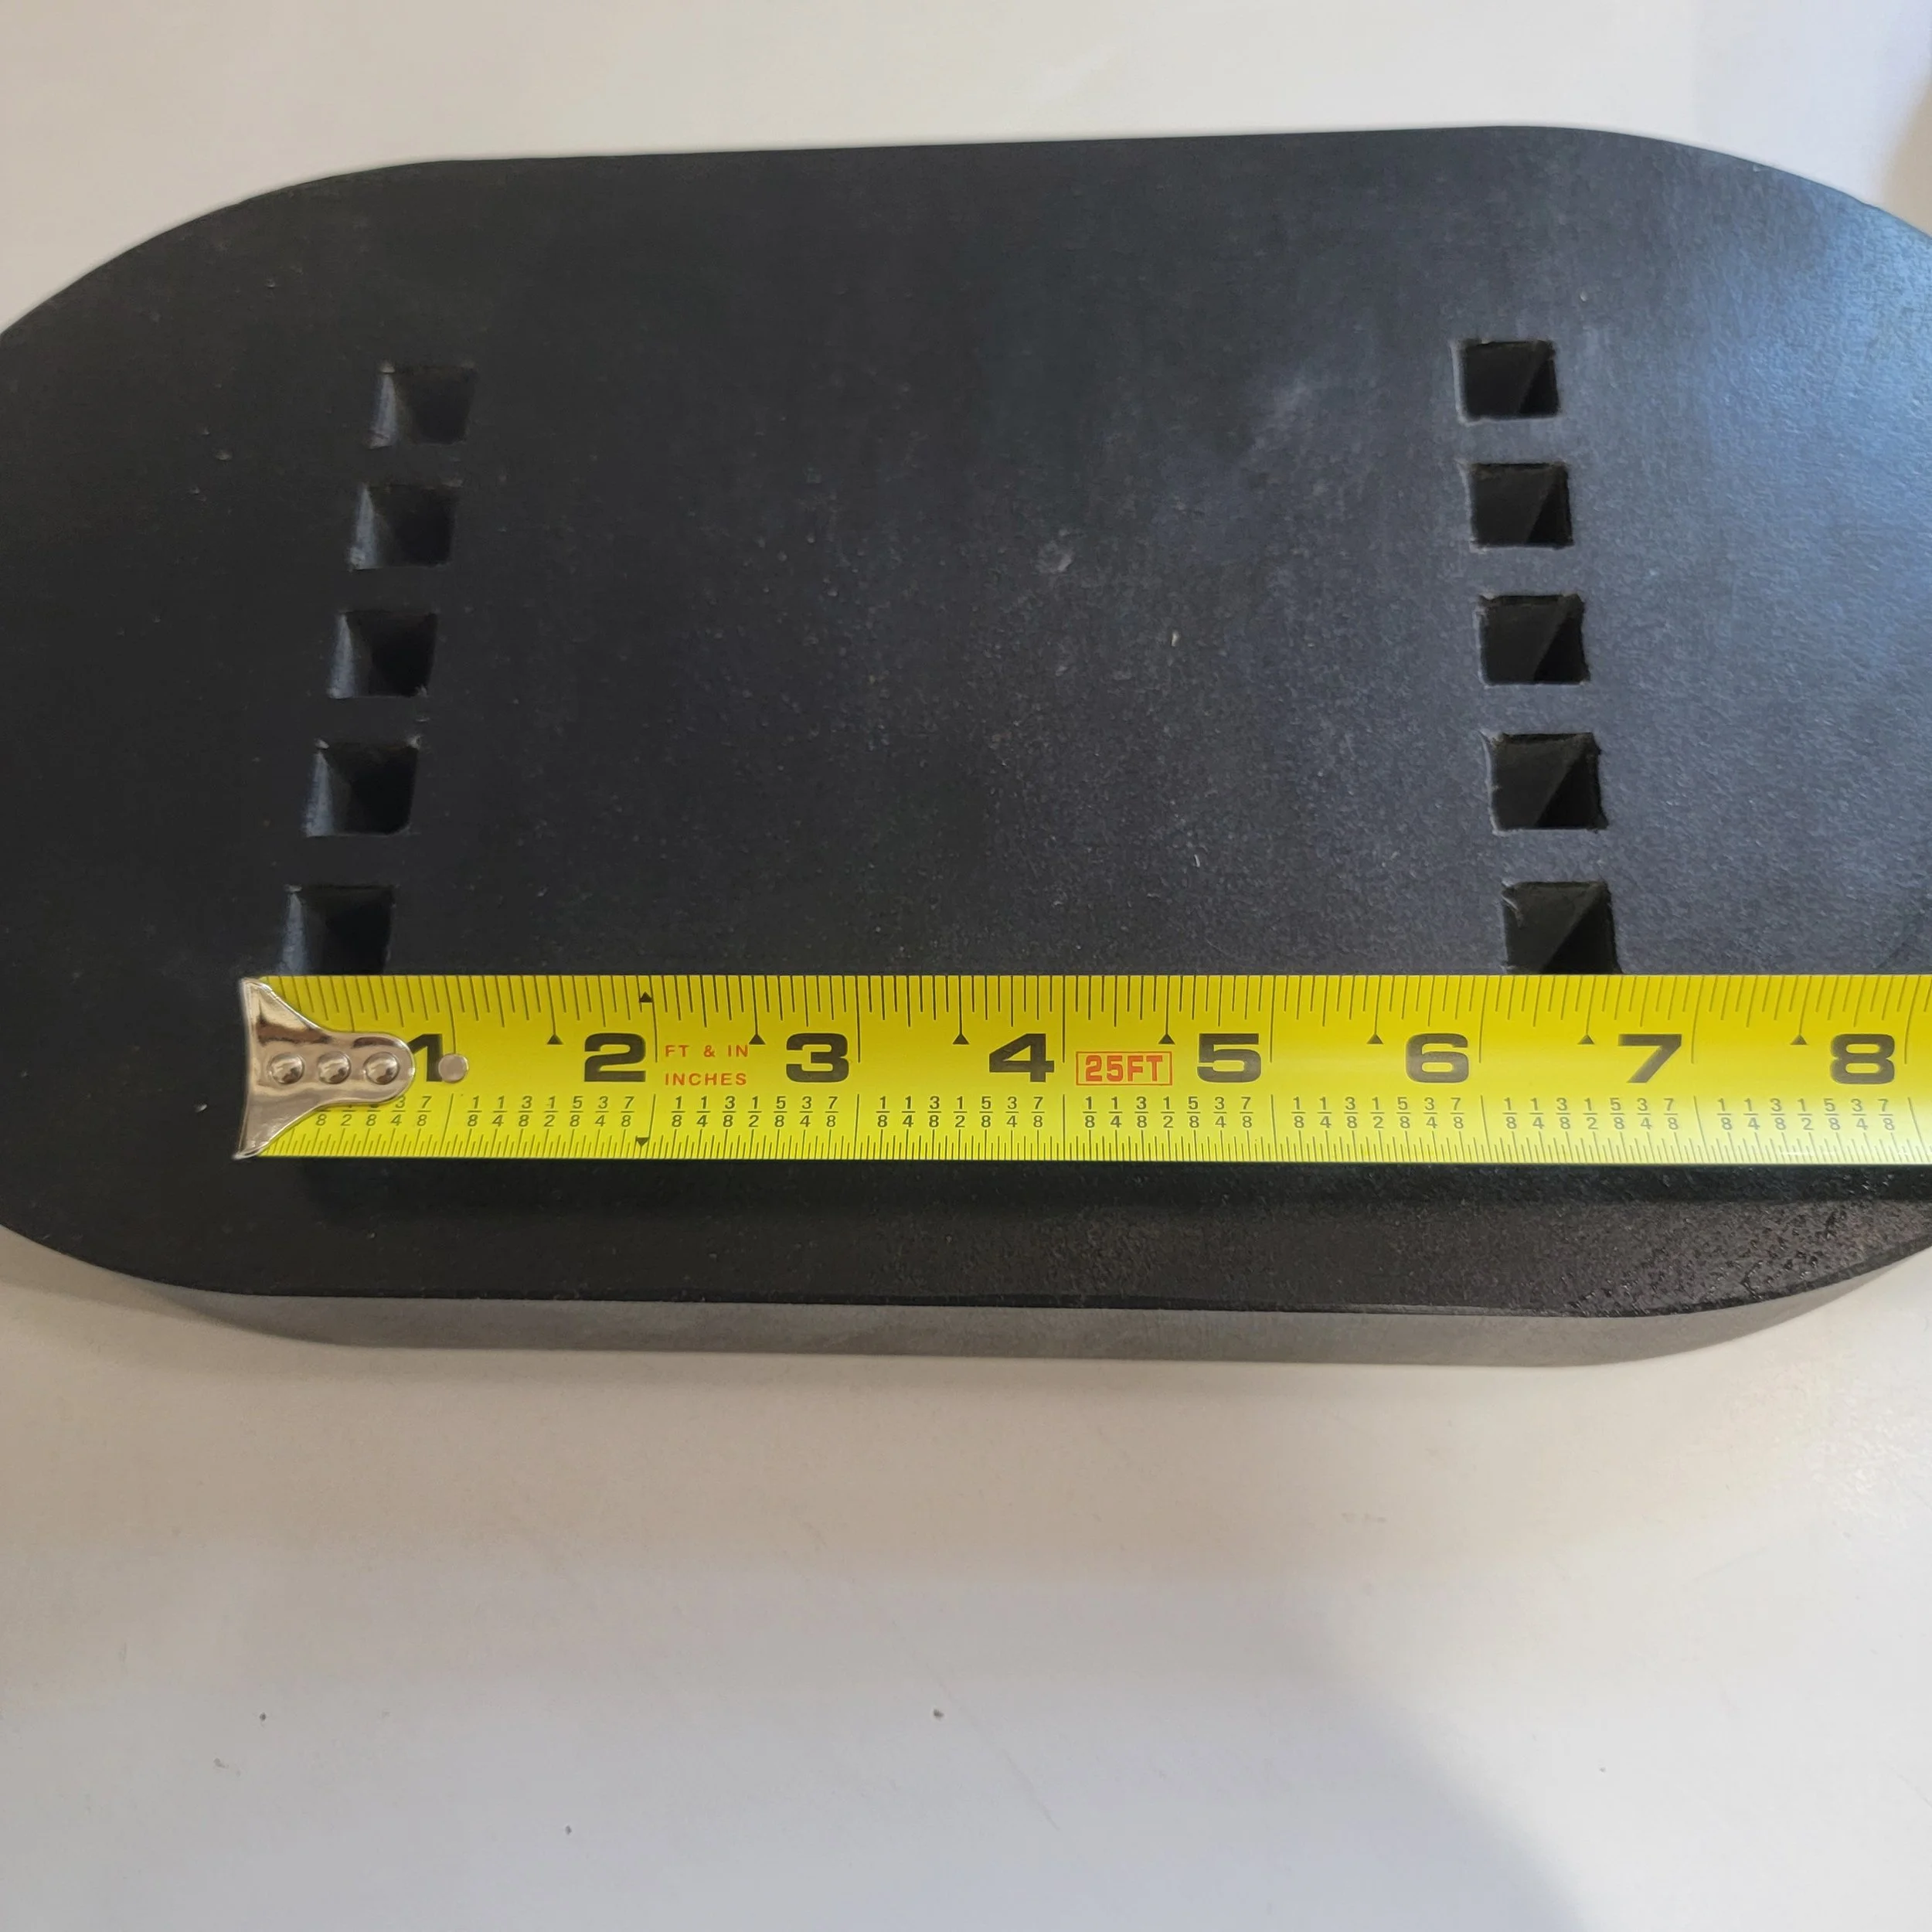 Image 4 of 6
 Image 5 of 6
 Image 6 of 6
Frontier SB1148 3-ph Blower UHMW Shoes to end steel wear on pavement
Price includes Ground Shipping in the Lower 48 states
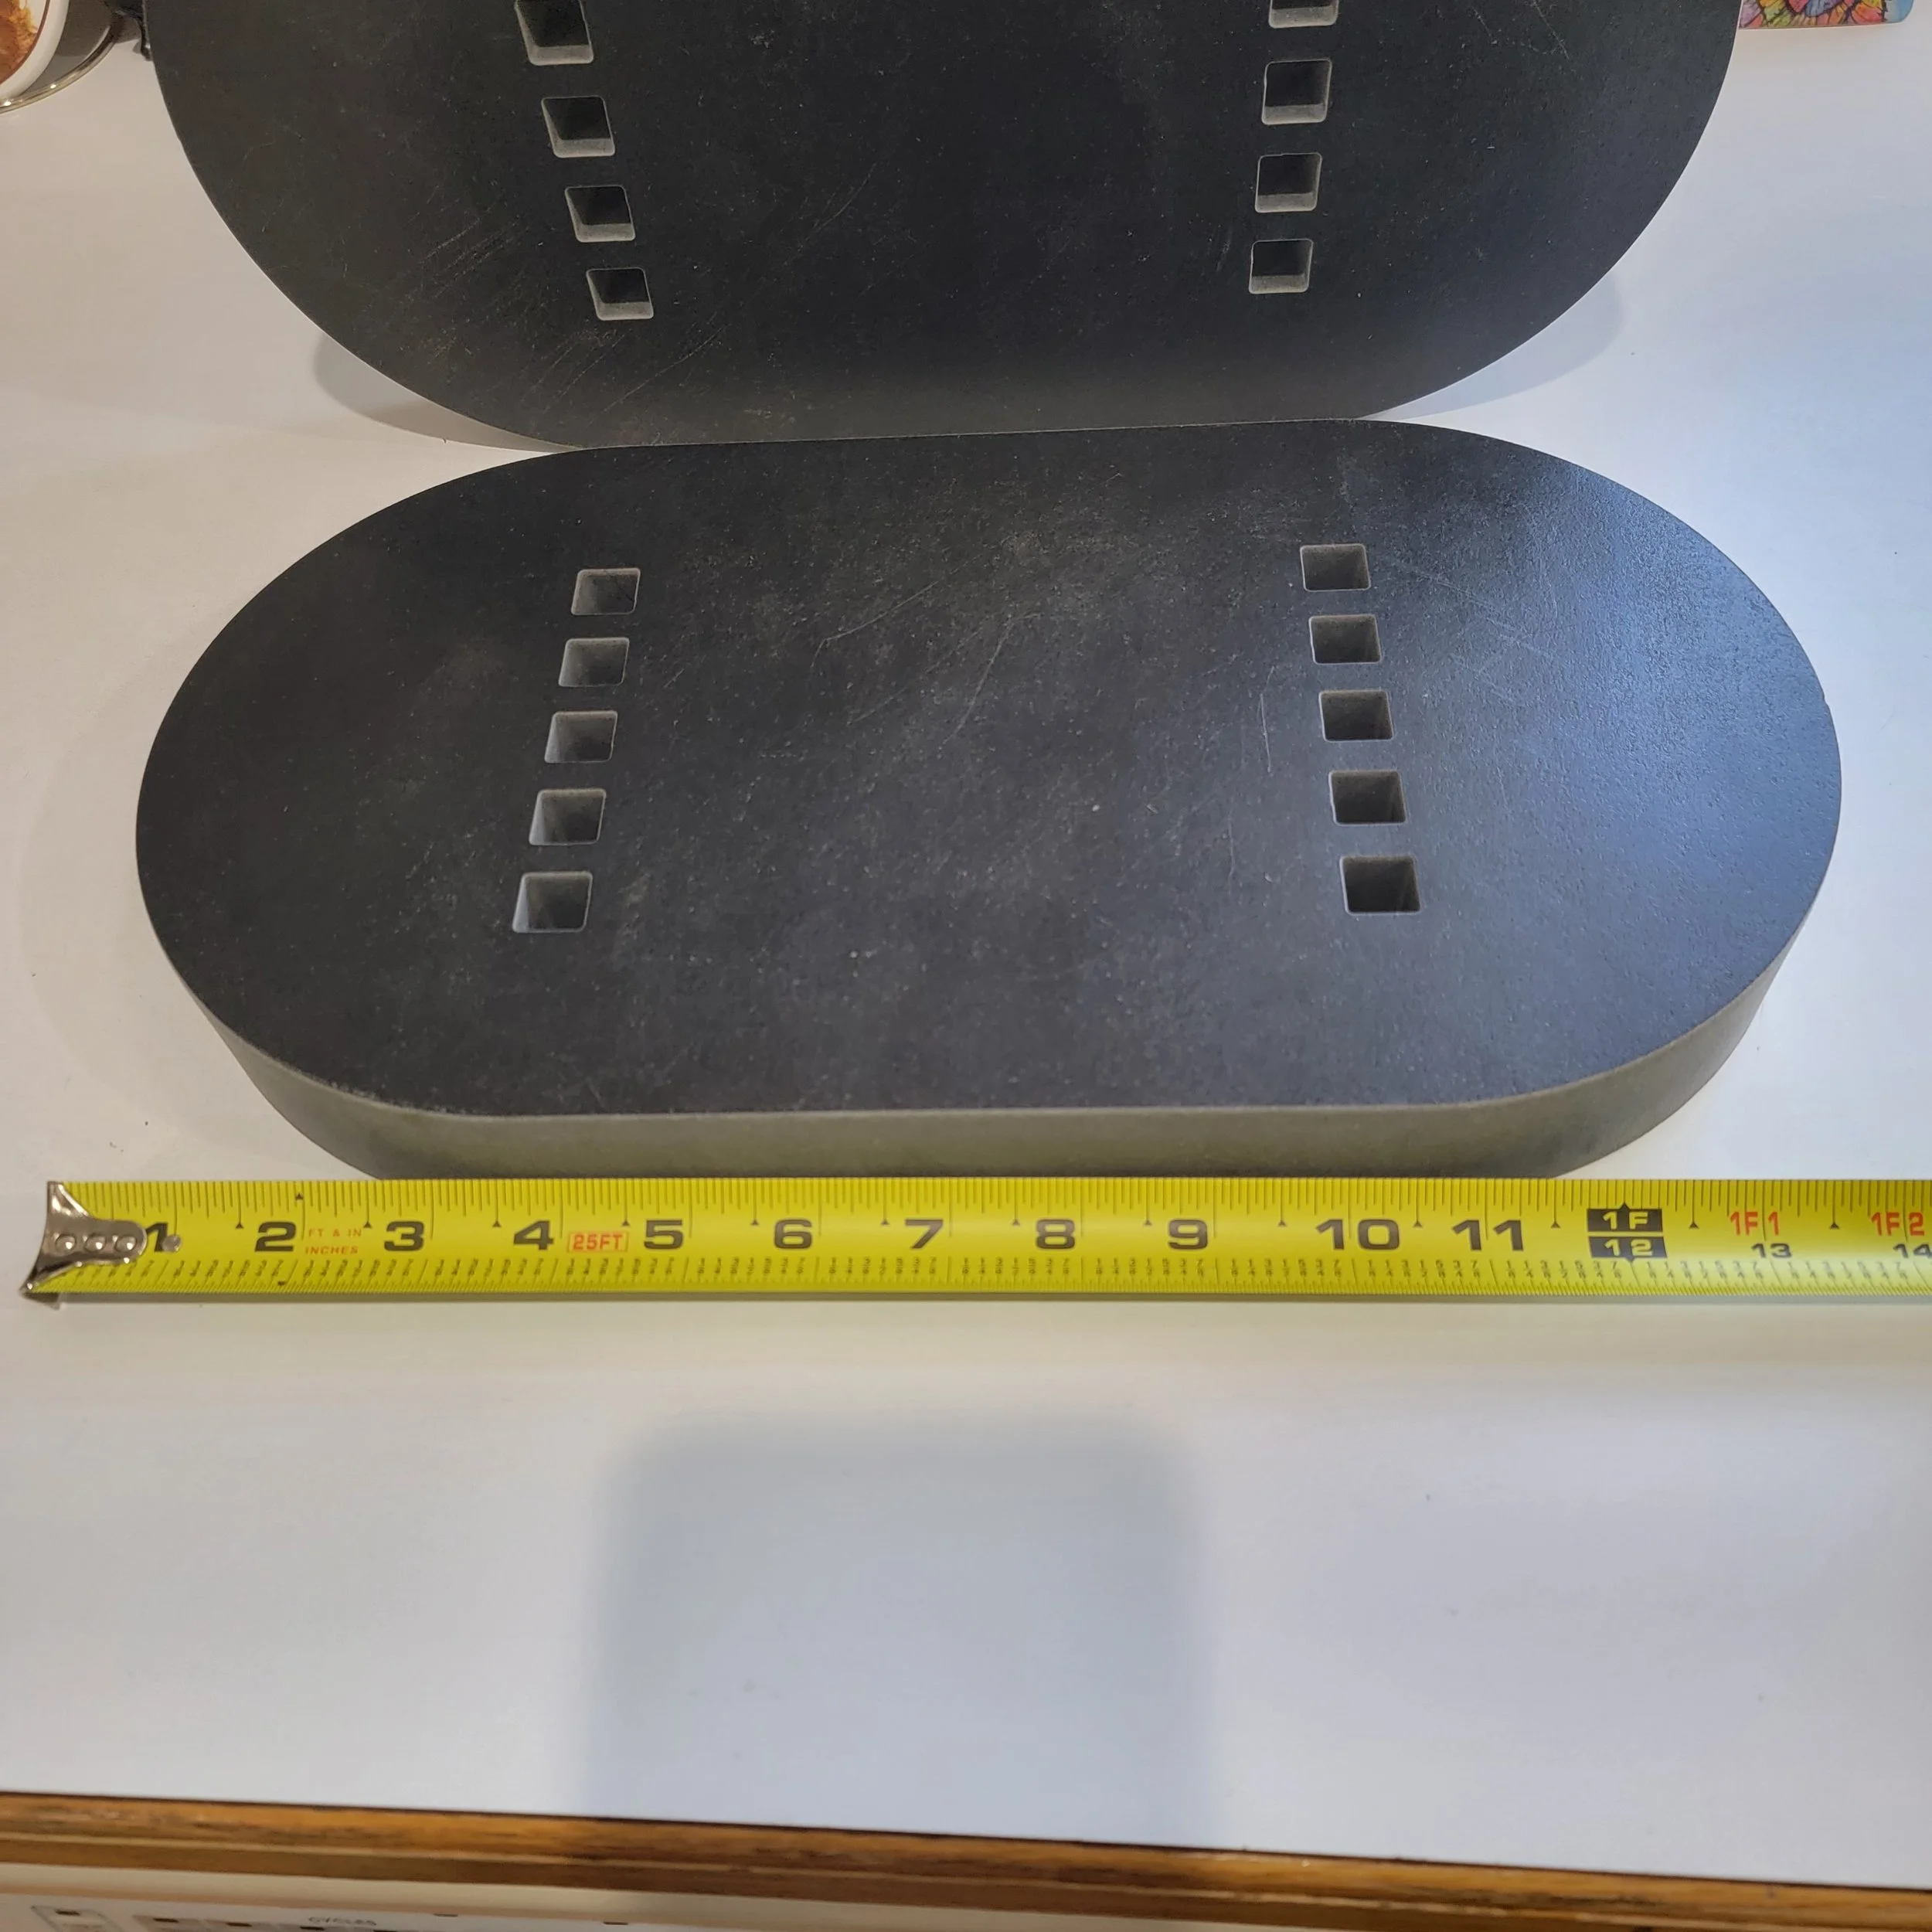
Your blower riding on the steel wear bar and steel shoes causes damage to the pavement with every snow clearing pass. It also grinds the steel wear bar and shoes on the blower. Stop the pavement damage and end the surface wear from the grinding and friction, by changing so these blowers ride on UHMW shoes. Our UHMW shoes can position the SB1148 blowers so the steel wear bar is slightly above the pavement. The blower will ride on our UHMW shoes
In order to get the correct shoes for your Frontier SB1148, please make sure to know the machine serial number on your blower. There are two groups.
The first group are the SB1148 Frontier Rear 3ph Snow blowers with serial numbers up to <111287.
The second group has machine serial numbers of >111288 and higher.
Please make sure to select the shoes for your blower based upon the serial number
What is UHMW and why should your blower be riding on UHMW shoes instead of steel shoes?
UHMW stands for Ultra High Molecular Weight Polyethylene , which is the strongest and most wear resistant plastic product produced in the world. Its perfect for this use as its a very low surface friction material, which is ideal for uses where there is a high load surface friction wear applications. UHMW is self lubricating and ideal for use in the snow clearing environment.
Is UHMW strong enough and Durable enough to be used for these products?
This type of product is specifically what UHMW was designed for. It is made to be put in applications where there is extreme friction and surface abrasion between materials. This material is used on large commercial snow plows and blowers and is used to clear airport runways and other very large pavement areas.
Why don’t snowblower manufacturers make the blower shoes out of UHMW and sell the blowers new with these outstanding upgrades?
Cost. Some higher end blowers do offer UHMW shoes either as an upgrade or an add on option. These shoes are expensive due to the material cost and the special machining needed to properly make these shoes. One pair of UHMW shoes for these blowers is the cost of about 15 to 18 sets of steel shoes. This is why most of these blowers are sold with the steel shoes.
How are these UHMW shoes installed on your Frontier Snowblower?
The blower steel shoes are simply replaced with our custom made UHMW shoes. Unbolt the steel shoes and bolt on our new UHMW shoes in their place. The entire process requires a wrench and is completed in under 10 minutes.
Is the installation of the UHMW shoes difficult and How long does it take to install the UHMW shoes on these model Frontier Snowblowers?
The installation of the shoes is as simple as unbolting the 4 bolts on the steel shoes and replacing the steel shoes with our UHMW shoes. You will want to do this when you can lift the blower to make removing and installing the shoes as easy as possible. Most owners can install the new shoes in 10 minutes or less.
Our UHMW Shoes are very simple to install.
Loosen the two nuts on each steel shoe and remove the shoes. Remove the old hardware used on the steel shoes.
Position the UHMW shoes so the bottom of the new UHMW shoes is supporting the blower so the steel wear bar is 1/2” to 1” above the pavement.
How much clearance should I put under the steel wear bar when installing these new UHMW shoes? You will want there to be enough clearance so the blowers wear bar doesn’t rub the pavement. If the pavement is uneven or rough, provide more clearance to make sure the wear bar isn’t making contact with the pavement when used.
That’s it. That is the installation process. Remove the safety supports from under the blower when working on it and lower the blower and prepare to use.
Common Questions and Answers about UHMW and it’s use and what to expect compared to the steel wear bar and shoes on your Frontier snowblower…..
Q. 1. - How long will the UHMW wear bar and shoes last with typical use?
A.1.- The UHMW is an excellent product which is far more durable than most people expect. It will wear more like steel than plastic, but without the noise, damage and surface friction of the steel shoes or wear edge. Expect these UHMW products to last several seasons with typical and proper use.
Q. 2.- What do we consider typical use?
A.2. - Most of our customers describe using their rear 3ph Frontier blowers for residential or light commercial use. Driveways vary from 250’ to 1,800’ long and from 10’ wide to 18’ wide. We consider a “typical driveway” for those who own this size and type of rear 3ph snowblower to be 500’ long and 10’ wide with a parking and turn around pavement area of an additional 2,000 sq feet near the buildings, etc. This means they are clearing 7,000 sq feet of pavement with each snowfall.
Q. 3. - What is the most important use tip or suggestion when using any snow clearing implement on the pavement?
A. 3.- Avoid excessive down pressure on the implement. Our shoes are designed to carry the weight of the snow clearing implement. That’s why are the snowblowers get larger, the shoes get wider and thicker and taller. We provide the material in the product design to support the operational weight of the implement.
Excessive down pressure is when the 3ph hydraulic top link or other hydraulic or mechanical leverage is applied pressing down on the snow clearing implement and applying down pressure. While you can apply light additional down pressure to maximize pavement clearing, any additional down pressure is simply unhelpful to the snow clearing and will only result in the accelerated wear of the UHMW or other wear surface material.
Q. 4.- How should the tractor operator position the implement for the best snow clearing and proper wear of the UHMW wear surfaces?
A. 4.- Its very simple. Lower the implement until it is on the pavement surface and once the wear bar or shoes are on the pavement, stop the lowering of the implement. Once the implement is making surface contact, its ready to clear snow.
Q. 5.- What about using the “float” feature on hydraulic lift systems on tractors?
A. 5.— The float feature is allowing the weight of the implement to ride on the pavement, supported by the implements wear surfaces. As long as the tractor steering and control are working when using the float feature, continue to do so. Sometimes. the implement weight is such that when in float, it pushes the tractor around. Use the float if it makes sense for your needs. Otherwise, carry some of the weight of the implement on the hitch to aid in traction, etc. of the machine.
Q. 6.- What do those who have switched from steel shoes to the SulleyBear Solutions products say our UHMW shoes ?
A. 6- We hear the same comments over and over and here is what they include;
“Wow, what an amazing transformation in how the plow blower, pusher, blade, etc functions.”
“I wish I had made the switch MUCH sooner”
“Its amazing how quiet the snow clearing is now, no more grinding and screeching of the steel on the pavement”.
“The UHMW wears much better than I expected, after a season of use, I have only worn (1/16”, 1/8” to 1/4”) off the shoes and wear bar”
“At this wear rate, it looks like the UHMW is likely to outlive me”……
“I can run the tractor at lower engine speeds as the friction to pull the (blower, blade, snow pusher, etc) is remarkably less than the steel”.
“Since the implement slides so much more easily on the pavement, I can clear snow in 2wd instead of 4 wd”
“As you suggested, I tried clearing snow this season without the tire chains now that i installed the UHMW wear edges. You were correct, I don’t need the tire chains because there is so much less resistance on the pavement”.
““While at first I focused on the expense of the UHMW shoes, after I spent $18,000 on driveway repairs this summer, I don’t want to risk any damage to the pavement. And you were correct, when used as instructed, the UHMW does protect the pavement from the surface damage”.
“I think the makers of the snow implements are doing the public a disservice by selling all new blowers with the steel shoes and wear edges. Thank goodness I found SulleyBear Solutions so I could end the senseless damage to the pavement and protect my investment in my pavement on my property”….
What about customers not in the U.S.A. or lower 48 states, can they order the UHMW shoes and how is the shipping handled?
We want customers who will benefit from our products to be able to purchase what they desire. For customers outside of the Lower 48 States, here is how we handle the ordering and shipping processes.
Ordering - You order using our website and pay with USD on our site.
Order Follow up. - We will contact you and confirm the serial number and model number of your blower. We also may request you send us photos of various parts of your blower.
Shipping - Once we have your order prepared and packed and ready to ship, we will measure and weight your order and obtain international shipping quotes. We will provide these quotes to you for you to select the carrier and shipping method. Once you have decided on the shipping carrier and method, we will send you an invoice for the actual shipping costs. Once you pay the invoice on our site, our order will ship to you. We will provide you tracking information for your order.
Do you have another series of blower and don’t see a listing for those shoes or wear bar? Contact us and we will discuss your b lower needs.
Questions? Please use the Contact Us information. We are pleased to discuss this or any snow clearing implement with you.
Price includes Ground Shipping in the Lower 48 states
Your blower riding on the steel wear bar and steel shoes causes damage to the pavement with every snow clearing pass. It also grinds the steel wear bar and shoes on the blower. Stop the pavement damage and end the surface wear from the grinding and friction, by changing so these blowers ride on UHMW shoes. Our UHMW shoes can position the SB1148 blowers so the steel wear bar is slightly above the pavement. The blower will ride on our UHMW shoes
In order to get the correct shoes for your Frontier SB1148, please make sure to know the machine serial number on your blower. There are two groups.
The first group are the SB1148 Frontier Rear 3ph Snow blowers with serial numbers up to <111287.
The second group has machine serial numbers of >111288 and higher.
Please make sure to select the shoes for your blower based upon the serial number
What is UHMW and why should your blower be riding on UHMW shoes instead of steel shoes?
UHMW stands for Ultra High Molecular Weight Polyethylene , which is the strongest and most wear resistant plastic product produced in the world. Its perfect for this use as its a very low surface friction material, which is ideal for uses where there is a high load surface friction wear applications. UHMW is self lubricating and ideal for use in the snow clearing environment.
Is UHMW strong enough and Durable enough to be used for these products?
This type of product is specifically what UHMW was designed for. It is made to be put in applications where there is extreme friction and surface abrasion between materials. This material is used on large commercial snow plows and blowers and is used to clear airport runways and other very large pavement areas.
Why don’t snowblower manufacturers make the blower shoes out of UHMW and sell the blowers new with these outstanding upgrades?
Cost. Some higher end blowers do offer UHMW shoes either as an upgrade or an add on option. These shoes are expensive due to the material cost and the special machining needed to properly make these shoes. One pair of UHMW shoes for these blowers is the cost of about 15 to 18 sets of steel shoes. This is why most of these blowers are sold with the steel shoes.
How are these UHMW shoes installed on your Frontier Snowblower?
The blower steel shoes are simply replaced with our custom made UHMW shoes. Unbolt the steel shoes and bolt on our new UHMW shoes in their place. The entire process requires a wrench and is completed in under 10 minutes.
Is the installation of the UHMW shoes difficult and How long does it take to install the UHMW shoes on these model Frontier Snowblowers?
The installation of the shoes is as simple as unbolting the 4 bolts on the steel shoes and replacing the steel shoes with our UHMW shoes. You will want to do this when you can lift the blower to make removing and installing the shoes as easy as possible. Most owners can install the new shoes in 10 minutes or less.
Our UHMW Shoes are very simple to install.
Loosen the two nuts on each steel shoe and remove the shoes. Remove the old hardware used on the steel shoes.
Position the UHMW shoes so the bottom of the new UHMW shoes is supporting the blower so the steel wear bar is 1/2” to 1” above the pavement.
How much clearance should I put under the steel wear bar when installing these new UHMW shoes? You will want there to be enough clearance so the blowers wear bar doesn’t rub the pavement. If the pavement is uneven or rough, provide more clearance to make sure the wear bar isn’t making contact with the pavement when used.
That’s it. That is the installation process. Remove the safety supports from under the blower when working on it and lower the blower and prepare to use.
Common Questions and Answers about UHMW and it’s use and what to expect compared to the steel wear bar and shoes on your Frontier snowblower…..
Q. 1. - How long will the UHMW wear bar and shoes last with typical use?
A.1.- The UHMW is an excellent product which is far more durable than most people expect. It will wear more like steel than plastic, but without the noise, damage and surface friction of the steel shoes or wear edge. Expect these UHMW products to last several seasons with typical and proper use.
Q. 2.- What do we consider typical use?
A.2. - Most of our customers describe using their rear 3ph Frontier blowers for residential or light commercial use. Driveways vary from 250’ to 1,800’ long and from 10’ wide to 18’ wide. We consider a “typical driveway” for those who own this size and type of rear 3ph snowblower to be 500’ long and 10’ wide with a parking and turn around pavement area of an additional 2,000 sq feet near the buildings, etc. This means they are clearing 7,000 sq feet of pavement with each snowfall.
Q. 3. - What is the most important use tip or suggestion when using any snow clearing implement on the pavement?
A. 3.- Avoid excessive down pressure on the implement. Our shoes are designed to carry the weight of the snow clearing implement. That’s why are the snowblowers get larger, the shoes get wider and thicker and taller. We provide the material in the product design to support the operational weight of the implement.
Excessive down pressure is when the 3ph hydraulic top link or other hydraulic or mechanical leverage is applied pressing down on the snow clearing implement and applying down pressure. While you can apply light additional down pressure to maximize pavement clearing, any additional down pressure is simply unhelpful to the snow clearing and will only result in the accelerated wear of the UHMW or other wear surface material.
Q. 4.- How should the tractor operator position the implement for the best snow clearing and proper wear of the UHMW wear surfaces?
A. 4.- Its very simple. Lower the implement until it is on the pavement surface and once the wear bar or shoes are on the pavement, stop the lowering of the implement. Once the implement is making surface contact, its ready to clear snow.
Q. 5.- What about using the “float” feature on hydraulic lift systems on tractors?
A. 5.— The float feature is allowing the weight of the implement to ride on the pavement, supported by the implements wear surfaces. As long as the tractor steering and control are working when using the float feature, continue to do so. Sometimes. the implement weight is such that when in float, it pushes the tractor around. Use the float if it makes sense for your needs. Otherwise, carry some of the weight of the implement on the hitch to aid in traction, etc. of the machine.
Q. 6.- What do those who have switched from steel shoes to the SulleyBear Solutions products say our UHMW shoes ?
A. 6- We hear the same comments over and over and here is what they include;
“Wow, what an amazing transformation in how the plow blower, pusher, blade, etc functions.”
“I wish I had made the switch MUCH sooner”
“Its amazing how quiet the snow clearing is now, no more grinding and screeching of the steel on the pavement”.
“The UHMW wears much better than I expected, after a season of use, I have only worn (1/16”, 1/8” to 1/4”) off the shoes and wear bar”
“At this wear rate, it looks like the UHMW is likely to outlive me”……
“I can run the tractor at lower engine speeds as the friction to pull the (blower, blade, snow pusher, etc) is remarkably less than the steel”.
“Since the implement slides so much more easily on the pavement, I can clear snow in 2wd instead of 4 wd”
“As you suggested, I tried clearing snow this season without the tire chains now that i installed the UHMW wear edges. You were correct, I don’t need the tire chains because there is so much less resistance on the pavement”.
““While at first I focused on the expense of the UHMW shoes, after I spent $18,000 on driveway repairs this summer, I don’t want to risk any damage to the pavement. And you were correct, when used as instructed, the UHMW does protect the pavement from the surface damage”.
“I think the makers of the snow implements are doing the public a disservice by selling all new blowers with the steel shoes and wear edges. Thank goodness I found SulleyBear Solutions so I could end the senseless damage to the pavement and protect my investment in my pavement on my property”….
What about customers not in the U.S.A. or lower 48 states, can they order the UHMW shoes and how is the shipping handled?
We want customers who will benefit from our products to be able to purchase what they desire. For customers outside of the Lower 48 States, here is how we handle the ordering and shipping processes.
Ordering - You order using our website and pay with USD on our site.
Order Follow up. - We will contact you and confirm the serial number and model number of your blower. We also may request you send us photos of various parts of your blower.
Shipping - Once we have your order prepared and packed and ready to ship, we will measure and weight your order and obtain international shipping quotes. We will provide these quotes to you for you to select the carrier and shipping method. Once you have decided on the shipping carrier and method, we will send you an invoice for the actual shipping costs. Once you pay the invoice on our site, our order will ship to you. We will provide you tracking information for your order.